News Messages. Manage news
To switch to the News Message profile page, just find and select the news in the News Messages tree in the left pane or double-click the news name in the News Messages list (the result view).
The result view displays details about the News Message and the list of assigned users who receive the message.
The toolbar contains the following functions you can access, from left to right:

- New — Add a new News Message.
- Edit — Edit the selected News Message, manage the assigned users, enable/disable the message.
- Delete — Delete the selected News Messages from the server. This action also deletes all logged history for the message.
- Send — Send the message now. It manually sends the News Message and does not depend on the scheduled date/time.
- Refresh — Update the news message profile page displayed in the result view.
- Print — Print the message profile page displayed in the result view.
- Options — Open the Options dialog box to change the server settings and look-and-feel options.
- Help — Open the help contents.
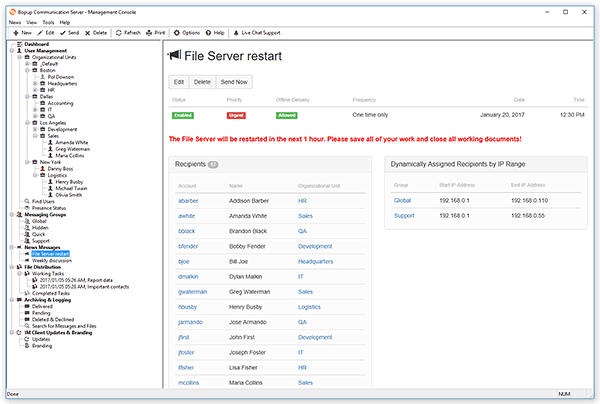 |
| News Message profile page |
You can use buttons on the profile page to quickly edit, delete or send the current News Message.
Adding/Editing a News Message
To create new a News Message on the server select the
News Messages view in the tree and select the "
New..." menu item from the pop-up menu. You can also select the "
News\New..." item from the main menu or use the

button on the toolbar. It will open the
Add News Message Wizard.
If you want to edit an existing News Message and its recipient list, select and right-click it in the
News Messages view or in the result view and select the "
Edit" menu item from the pop-up menu. You can also select the "
News\Edit..." item from the main menu or use the

button on the toolbar.
 |
| Welcome to the Add News Message Wizard |
General Information
Use the next dialog box to enter the news title and the message text. You can format the message text and change the font family, text size, style and color. Use the buttons on the toolbar to the right from the message field.
 |
| Enter the title and the message text |
- "Enabled" — Use this option to automatically enable the message after the wizard finishes its work.
- "Urgent message" — Select this option to send the message as an Urgent one. An Urgent message automatically activates the IM client window when the message is received even if these settings on the client are disabled and highlights it in red.
- "Offline Delivery" — Activate this checkbox if you want to enable offline delivery of the news if some from recipients are not available. Sometimes it is not necessary to save the message as offline if it requires only immediate attention (*).
(*) — Please note that in order to use this option you need to have to check the "Save news messages as offline if the recipient is not available" checkbox on the Logging tab in the Options dialog box. Otherwise this option will be grayed and unchecked.
Sending Frequency
Choose one from the available options:
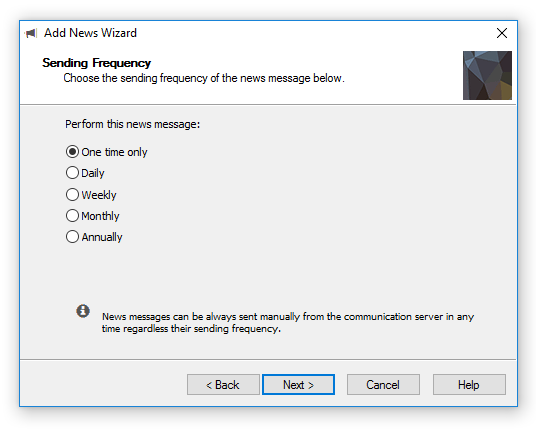 |
| Specify the sending frequency for the News Message |
- "One time only" — Send the message only once. You have to specify the date and time when the message should be sent.
- "Daily" — Send the message every day. You should enter the time to send the message at.
- "Weekly" — Send the message every week. You should specify the day of the week and the time when the message should be sent.
- "Monthly" — Send the message every month. You must specify the day of the month and the time when the message should be sent.
- "Annually" — Send the message every year. You must specify the month, the day of the month and the time when the message should be sent.
Time and Date
The next dialog box allows you to specify the date and time or/and select the day of the week/month. The options depend on what you selected in the previous dialog box.
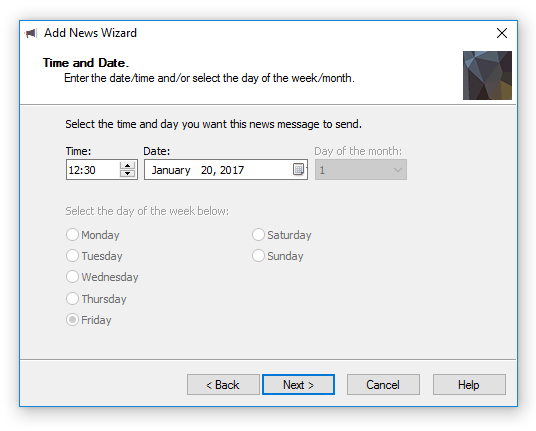 |
| Enter the date/time and/or select the day of the week/month |
Messaging Groups
Select the Messaging Groups that should receive the News Message.
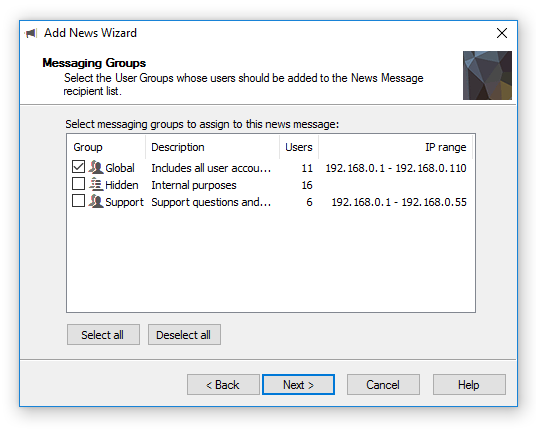 |
| Select the User Groups whose users should be added to the News Message recipient list. |
Use the Select all and Deselect all buttons to add all Messaging Groups to the News Message recipient list or remove them from it. Do not select any groups if you want to create the recipient list using available users and add each user individually.
 |
Please note that if the assigned group is disabled then the news will not be sent to the users from that group and those users will not be shown in the Recipients list on the News Message's profile page. |
Recipients List
Select and add users to the recipient list.
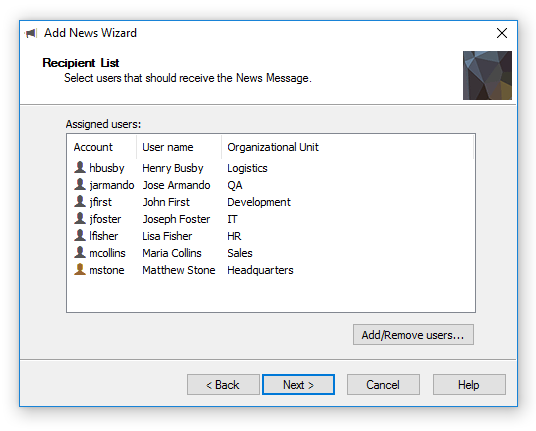 |
| Add users to News Message recipient list |
This page displays the currently assigned users who receive the message. Click the Add/Remove users... button to manage the user (recipient) list.
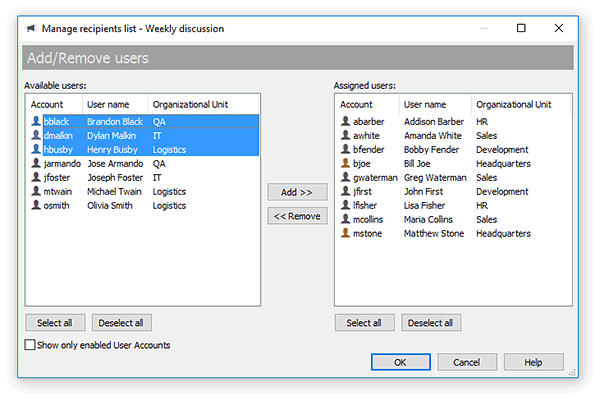 |
| Manage the recipient list |
Use the "Show only enabled User Accounts" to display only enabled (active) accounts in the Available and Assigned lists. Use the Add >> and << Remove buttons to move users between lists. You can also double-click on a user to move it between the lists. Click OK to apply the changes.
Click Next to go to the Finish dialog box and close the wizard.
 |
Do not worry if you include the same user to the News Message recipient list twice. The server detects duplicate user accounts assigned to the recipient list through Messaging Group(s) and/or direct assignment and sends only one News Message to a user. |
Deleting News Messages
To delete an existing News Message, select and right-click it in the
News Messages view or in the result view and select the "
Delete" menu item from the pop-up menu. You can also select the "
News\Delete" item from the main menu or use the

button on the toolbar.
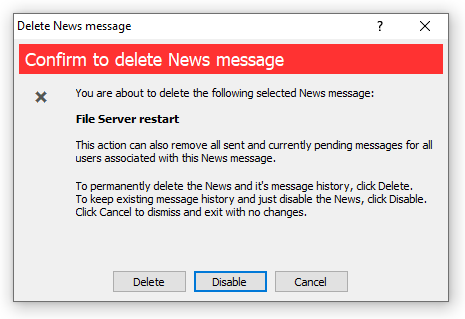 |
| Delete or disable the News Message |
Click Delete to delete the message and remove the associated message history from the server, i.e. all sent and received News Messages. Otherwise select Disable to disable the news message and keep all logs & archives.